The bra: Freya Deco (the fit of this bra has never really worked for me but I needed a T-shirt bra in my size and ran out of other options.)
The problem: The bra cups gape at the top and the center gore does not lie flat. I have shallow breasts and a slightly sunken chest so these are common problems for me. In addition, the straps are too wide set for my sloping, narrow shoulders.
The solution: Move the straps closer to middle of the cups (by about an inch in this case) and make the center gore narrower.
Materials needed:
- Seam ripper
- Scissors
- Pins
- Sewing Needle
- Thread that matches the color of the bra
2. Pin the strap onto the cup where you think it will fit better. Try the bra on to see how it fits and adjust accordingly. If you are only doing this to narrow the straps, better to be conservative, as the change will also make the cups fit smaller. For me this was what I was trying to do because of the gaping issue. (In fact, at this point, I think the cups are just too big! But I'm going to work with what I've got.)
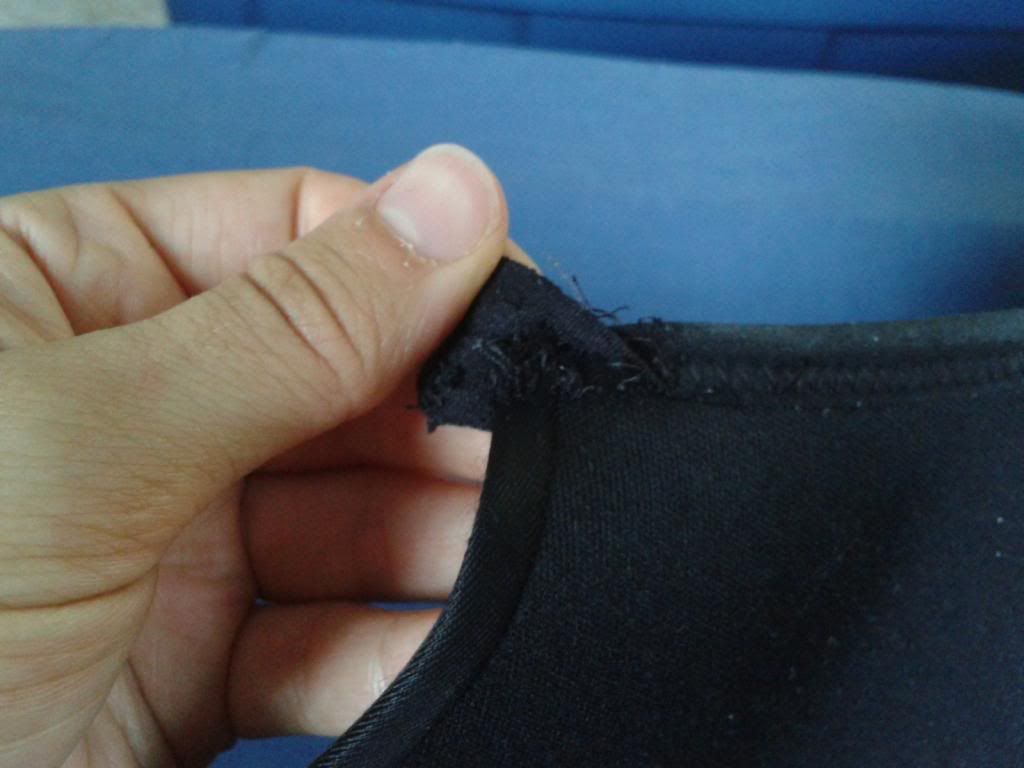
3. Mark the center the cup at the point where the center of the strap hits in its new placement. Unpin the strap.
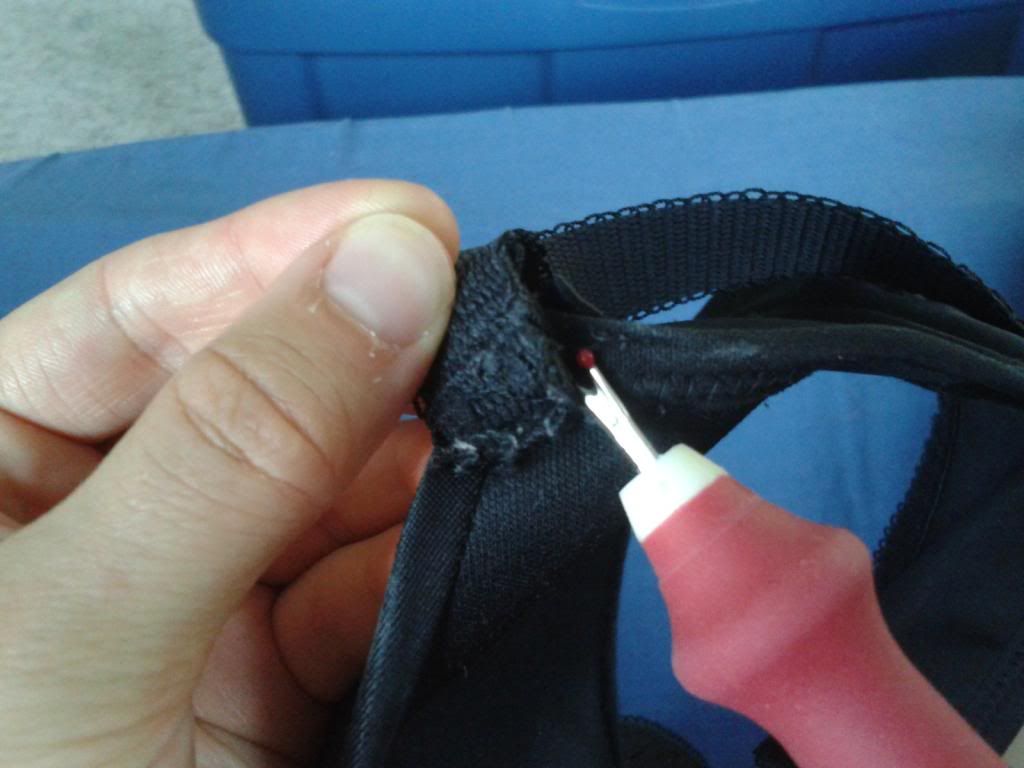
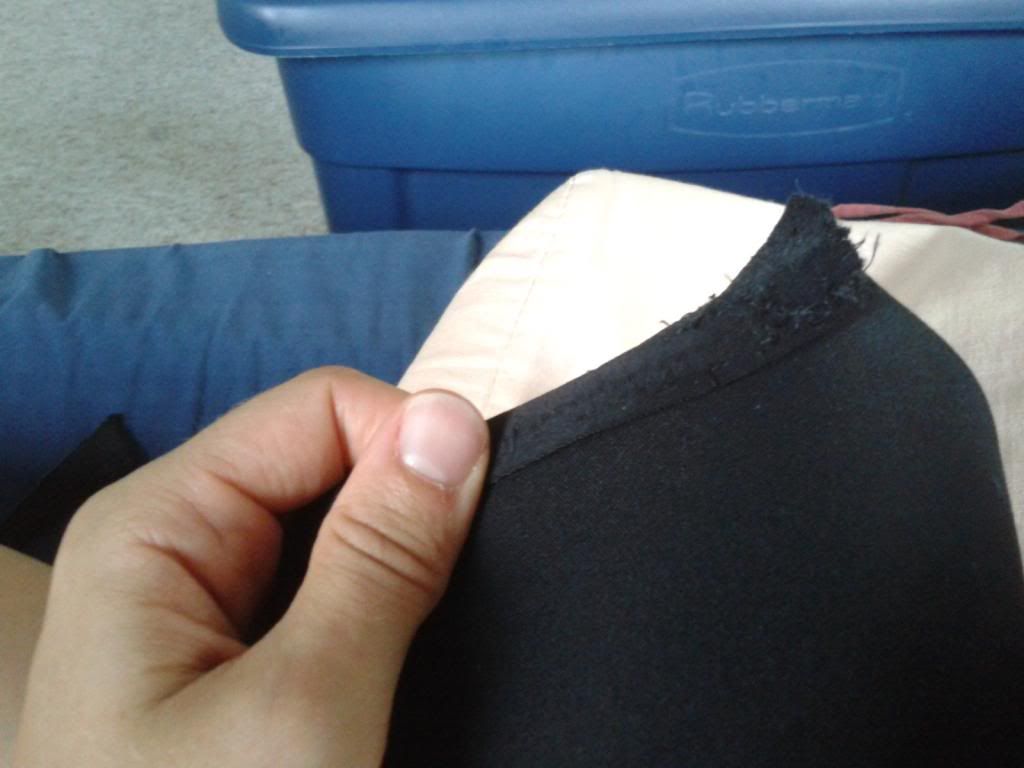
4. Use the seam ripper to separate the binding from the side of the cup. Just rip back to the bottom up the cup--stop when you reach the underwire.
5. From the mark you made earlier, down to the corner where the cup meets the underwire, cut a wedge off the cup.
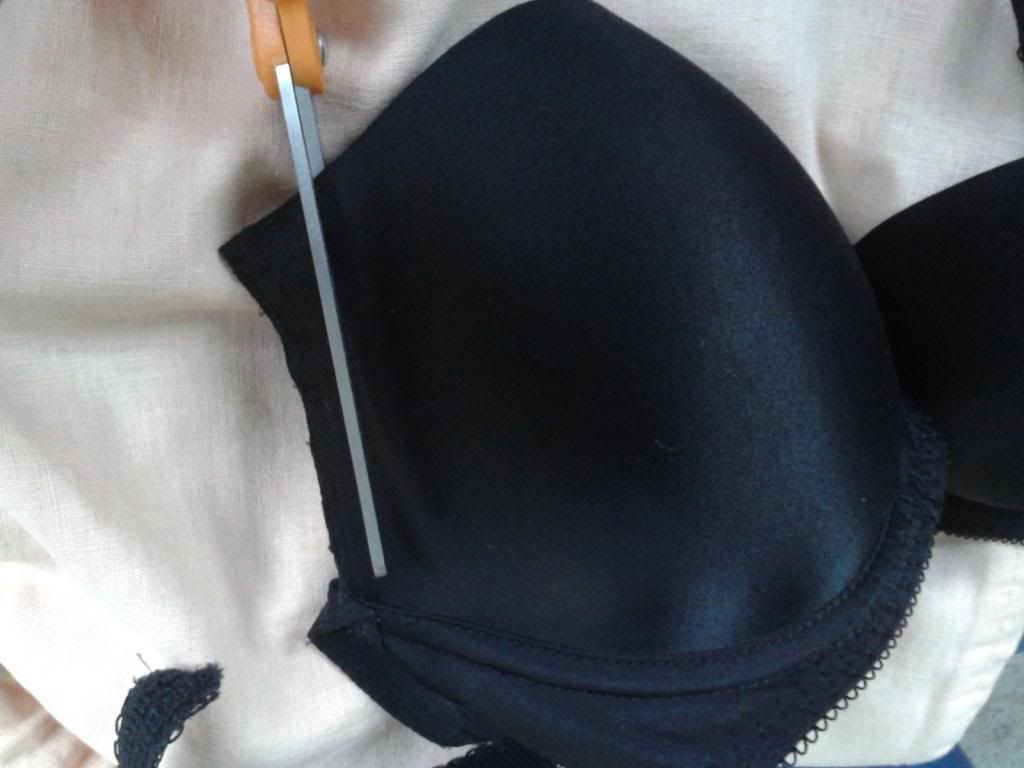
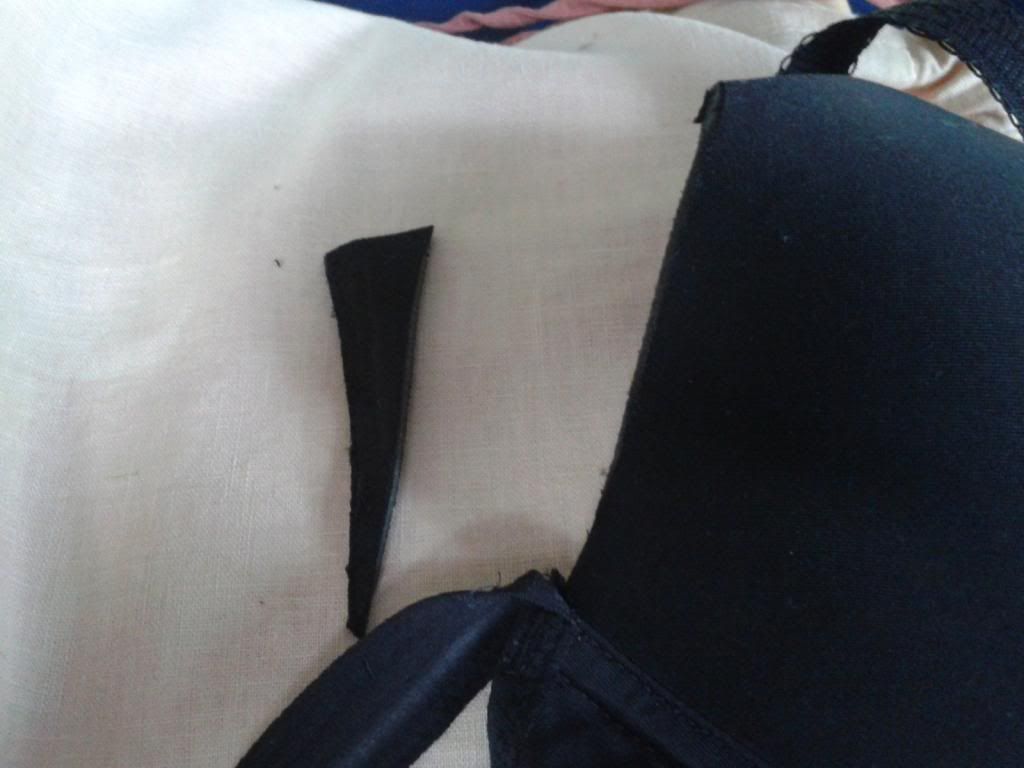 |
| (I saved this piece of the cup to mark the other side to ensure that I cut the same amount). |
6. Take the binding and pin it back to the new edge of the cup. Because you just cut the cup, the edge is longer now so the binding may have to be stretched a bit. It also may have a hard time getting as snug to the edge.
 |
| This is a picture of me trying to line up the binding with the new edge. |
7. Sew the binding to the edge of the cup, being careful to pick up all layers of fabric between the two layers of binding. When I was doing this, the thin layer of fabric on the outside of the cup tried to escape away from the binding. I did this by hand but it might be possible to do this with a machine. I would recommend a zig-zag stitch.
8. Sew the strap to the new corner of the cup, being careful not to twist the strap! Reattach the bow in front to hide the edges.
Then repeat on the other side!
Bras are all made differently. Not all bras will have this construction. I got some information from this blog: Dressing Curves. This may help if your bra has elastic on the inside of the bra instead of an elastic binding.
To make the center gore smaller, I simply folded the bra in half and sewed a straight seam up the center gore. I don't have pictures right now, sorry!
No comments:
Post a Comment